This card was made by Ben (Age: 7) for his mum (or mom if you’re from America) using the Simon Says Stamp March Card Kit for 2015. I gave him instructions on how to construct it. Ben chose a design from the inspirations page that is included in kit and we went from there.
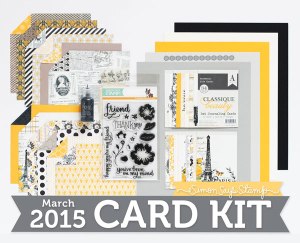
Below is a picture which shows what is included in the March Card Kit for 2015 and if you click the picture it will take you to a link on the Simon Says Stamp Website where they have the list of the items included in detail. Unfortunately the kit is out of stock, but if you’re interested you should still be able to buy the items separately (it will probably just cost a little more).
On the plus side, a subscription is offered so you are guaranteed a kit, so you don’t have to worry about sell outs for future kits. They email you a payment when your order is ready to ship. I believe, every month on the 14th they release what’s inside the kit.
This kit has actually been my favourite kit to date and it is so chic; I have so many ideas for the materials. My friends are going to be swamped with cards! Haha!
Anyway… back to Ben’s Card!
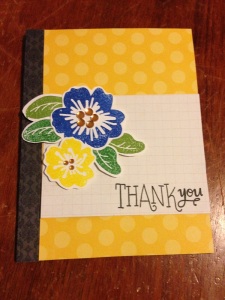
Ben started with some plain black card stock. He trimmed the card stock down to 4 and 1/2 inches wide. He used the Martha Stewart Score Board and scoring the card down the width of the length-ways center. He folded the card to make sure it had a good crease.
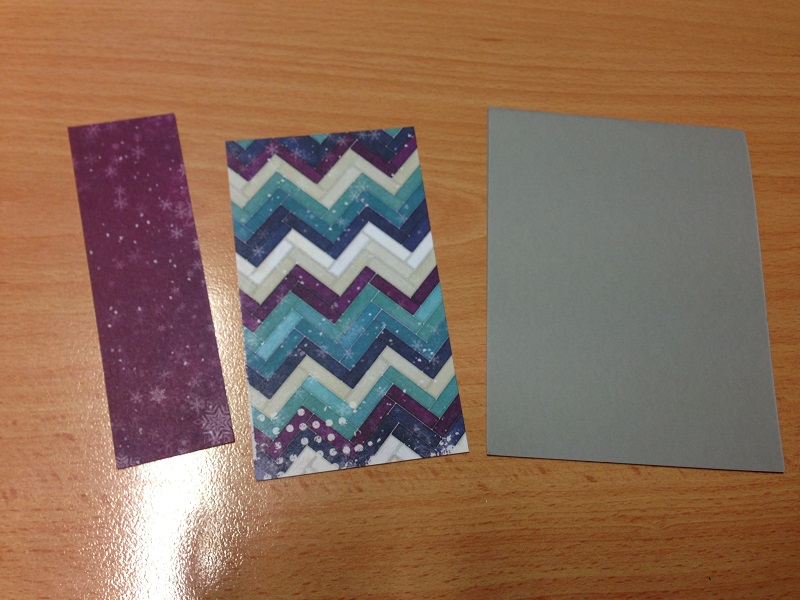
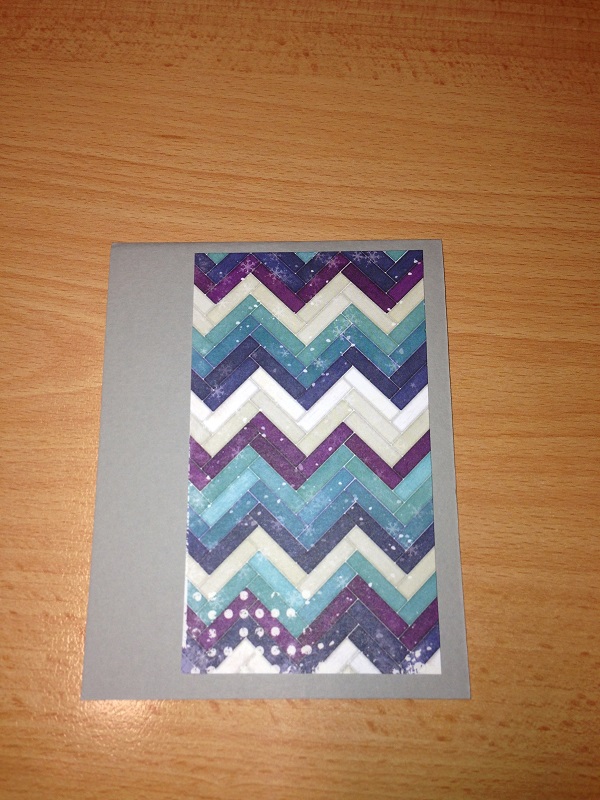
Then Ben trimmed the spotted yellow pattern paper to fit the card facing and adhered it with adhesive using the Advanced Tape Glider. Ben needed a little bit of extra help using the ATG and the card was adhered for him as he didn’t want to mess up the alignment.
Next a strip was cut from black pattern paper and was adhered to border the left-hand side of the card.
It was decided, by Ben, that the flowers needed to be constructed next. Ben chose blue for the large flower stamp and yellow for the small flower stamp. He was fascinated by the stamps and how they clung to the acrylic block.
Ben chose two different shades of green for the leaves with a total of four leaves and 2 of each colour. Kelly fussy cut the flowers and leaves out for Ben.
Ben stamped the sentiment ‘Thank You’ on to a journal card using Tuxedo Black Memento ink. Kelly helped with the placement. Ben was able to master use of the Advanced Tape Glider and adhered the journal card to the background.
Foam squares were attached to the back of the flowers and leaves then the flowers were arranged with instruction from Ben by Kelly into the top left-hand side corner of the journal card.
It needed to by shiny! Kelly used the Wink of Stella Clear Glitter Pen on the coloured parts of the flower and on the leaves. Ben watched carefully monitoring to make sure Kelly didn’t make a mistake.
After rummaging through craft storage drawers, gold rhinestones were located. Three small rhinestones were adhered to the small flower with the trickery of tweezers. Three large rhinestones were adhered to the center of the large flower. Kelly was ordered to adhere more.
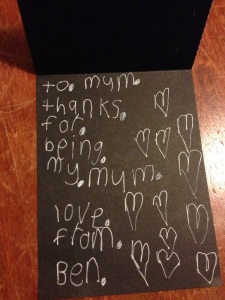
When Ben was satisfied with the look of the card he wrote his message inside the card using a white gel pen and showed his proficiency in drawing love hearts.