Birthday Card Making – Newtons Nook Birthday Card Idea – Shiny Gold Card – Basic Grey Plumeria & Mint Julep

Basic-Grey-Plumeria-Gold-Brown-Shiny-Birthday-Card-Idea-Newtons-Nook-Dream-Of-Paris-Acrylic-Stamp

This is a super cute and flashy birthday card I made using the Newtons Nook Newton Dreams of Paris stamp set and a whole bunch of elements with sparkle for my partner’s younger brother.

Basic-Grey-Plumeria-Gold-Brown-Shiny-Birthday-Card-Idea-Newtons-Nook-Dream-Of-Paris-Acrylic-Stamp


I started with a gold background pattern paper which made me think of wallpaper. This is from the Basic Grey Plumeria collection and I trimmed it down to size from 6 x 6 paper pad. I adhered it directly to a creamy gold card stock that was in the Simon Says Stamp March 2015 Card Kit.

Basic-Grey-Plumeria-Gold-Brown-Shiny-Birthday-Card-Idea-Newtons-Nook-Dream-Of-Paris-Acrylic-Stamp

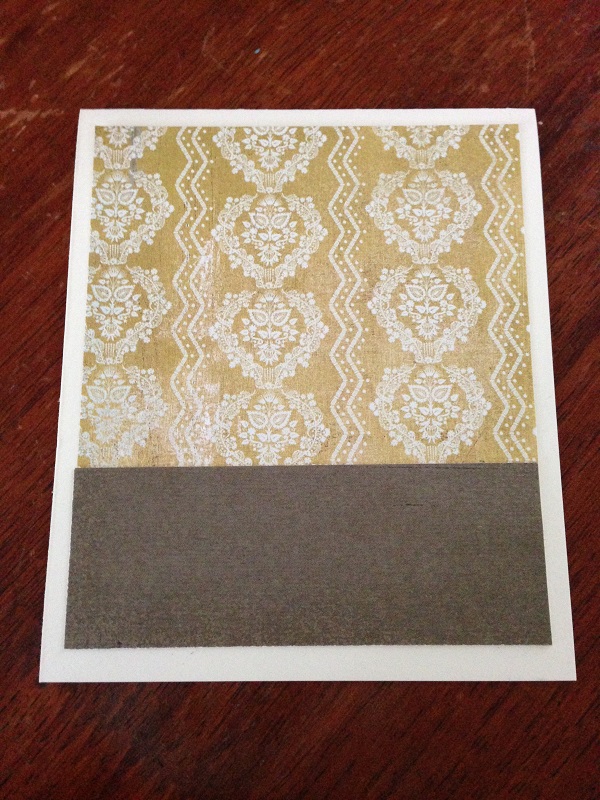
I really wanted to use brown with this as I was going to use some brown ribbon that I had spare. I found a nice chocolate brown in the Basic Grey Mint Julep collection. I trimmed a rectangle from a 12 x 12 inch pattern paper and adhered it over the gold using advanced tape glider.

Basic-Grey-Plumeria-Gold-Brown-Shiny-Birthday-Card-Idea-Newtons-Nook-Dream-Of-Paris-Acrylic-Stamp

I have a roll of gold striped washi tape and I tore strip off and just slapped that onto the right-hand side edge. This would be where I would place the kittens/cats when they were done.

Basic-Grey-Plumeria-Gold-Brown-Shiny-Birthday-Card-Idea-Newtons-Nook-Dream-Of-Paris-Acrylic-Stamp

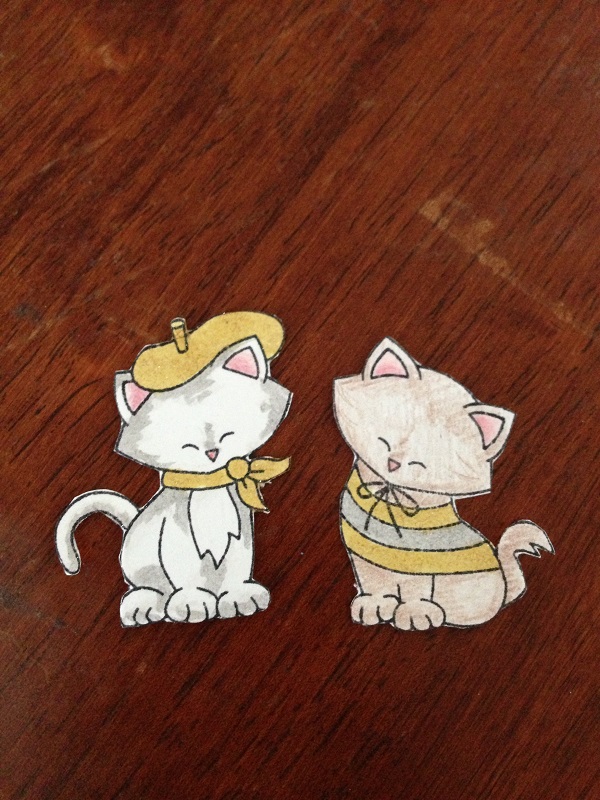
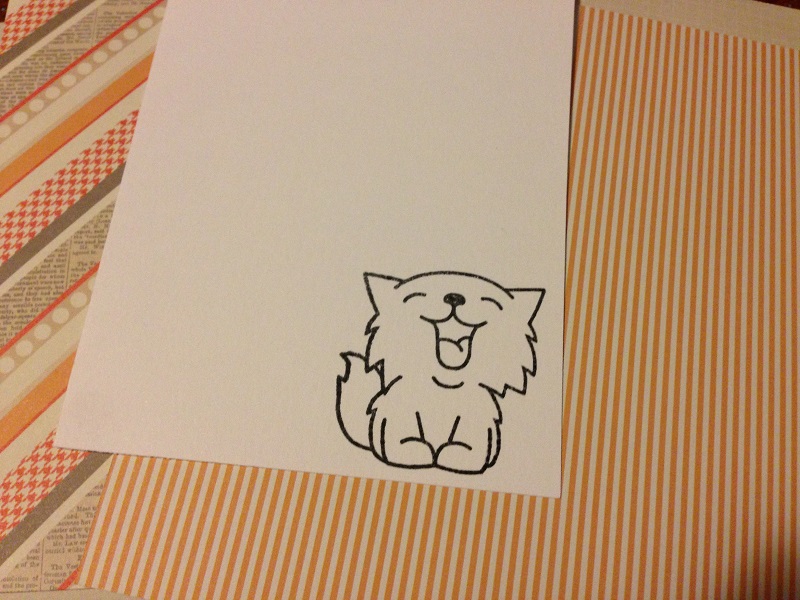
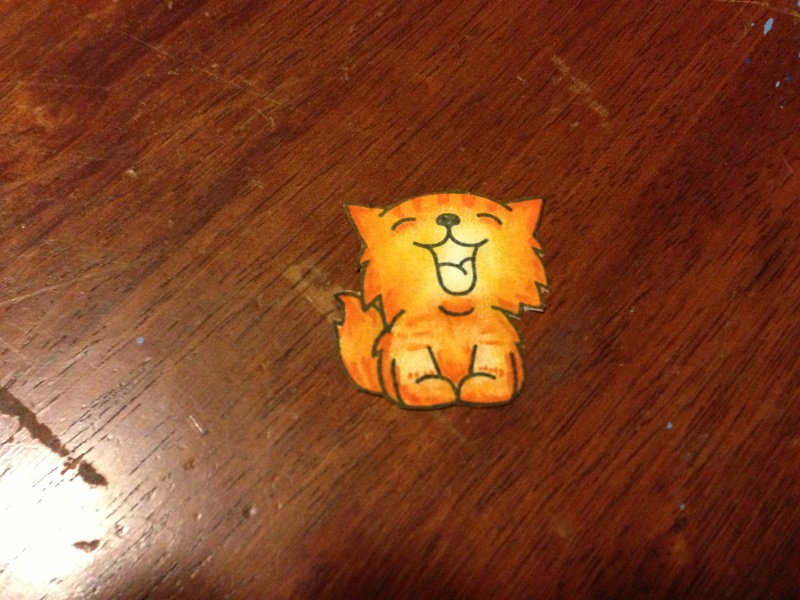
The kittens/cats I stamped using Memento Tuxedo Black Ink – this time I waited for it to dry instead of rushing in and smudging it everywhere with my fingers. I used Derwent Studio coloured pencils in gun metal grey and vandyke brown to add some colour and shading to each kitty. I used pink madder lake for the ears and nose. After fussy cutting the kittens out I went over the edges using the Memento Tuxedo Black Ink Pen. And then I had the brilliant (in my humble opinion) idea of using the wink of stella glitter pens in gold and silver to add a bit more sparkle to the card and characters. I used the gold to colour in the hat scarf and two stripes of the shirt and then the silver to go over the gun metal grey portions of the grey/white kitty and also the middle stripe of the shift on the right-hand side cat. So cute! I really like how this pair turned out.

Basic-Grey-Plumeria-Gold-Brown-Shiny-Birthday-Card-Idea-Newtons-Nook-Dream-Of-Paris-Acrylic-Stamp


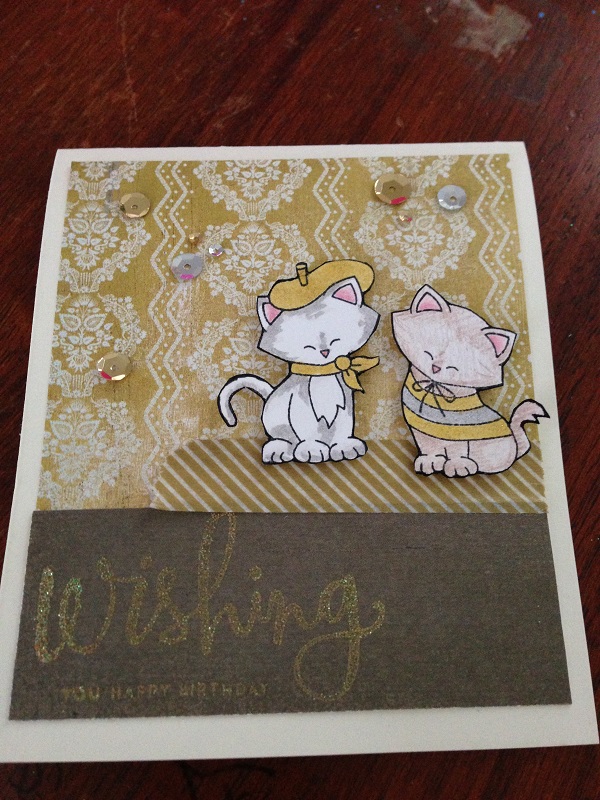
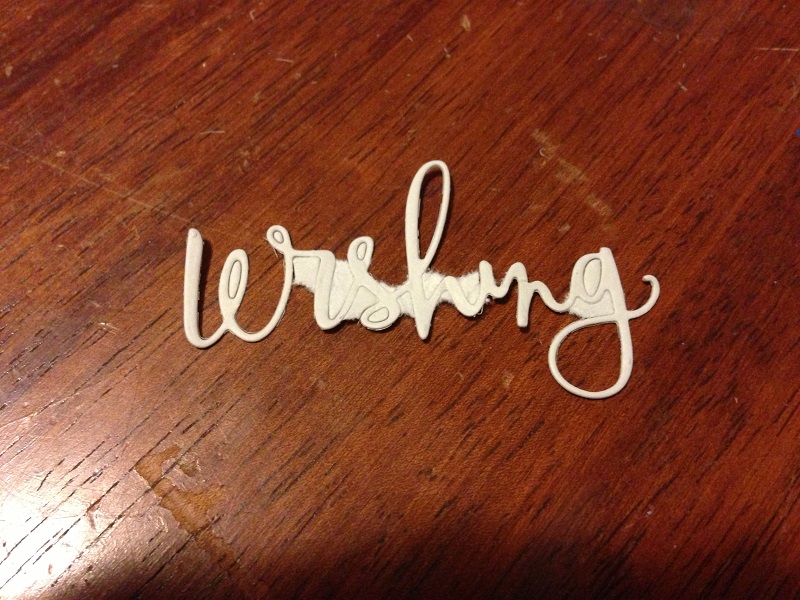
Once the kittens were complete I adhered them to the card on top of the washi tape using foam tape for a bit more dimension. Lastly, I used the Simon Says Stamp Better Together ‘wishing’ and ‘you happy birthday’ stamps with embossing ink and some glittery gold embossing powder. On some angles you can’t actually see the sentiments and on others it lights up so brilliantly. It wasn’t the effect I was originally looking for but I think it works well. I had some gold and silver sequins which I adhered here and there on the background for some extra sparkle and interest. And that’s it! Let me know what you think by leaving me a comment.

Birthday Card Making – Paper Smooches Nine Lives Cute Cat Stamp with Teresa Collins He Said/She Said Pattern Paper

simon-says-stamp-card-kit-march-2015-authentique-classic-beauty-card-stock

I started this card with a warm-toned beige cardstock from the Simon Says Stamp March 2015 Card Kit which I cut to size and then used the Martha Stewart Scoring Board to score a line in the middle and fold the cardstock in half to create my card base.teresa-collins-designs-he-said-she-said-orange-scrapbook-pattern-paper

Next I chose the pattern papers I would use on the card. I wanted to do something different from the norm and I had a bit more time to waste on this card having the night off work and no one was at home, so I took my time with it and had a lot of fun.

paper-smooches-nine-lives-cute-happy-smiling-anime-cat-craft-stampThe papers are from a Teresa Collins 6×6 paper pad called ‘He Said She Said’ and I chose two coordinating pattern papers with orange. I was making this card as a birthday present for a friend who happens to be red-headed and happens to also really like the colour orange, so I tried to make the card as ‘ginger’ as possible.

big-shot-die-cut-machine-yellow-washi-tape-adhesive-scrapbook-card-making-craftI wanted to try a few new things with this card and I hadn’t used the new die cuts I had purchased from Simon Says Stamp that I really wanted. I purchased the Simon Says Dies and Stamps From Me To You Set FMY175 Better Together a while ago as the set has many elements that I think are very versatile.

simon-says-stamp-wishing-sentiment-die-cut-big-shot-machineIf you like haul posts, you can check out the post I made for when I got Better Together Simon Says Stamp Die & Stamp set by clicking here. Unfortunately my Big Shot didn’t cut it out properly and I had already packed the Big Shot back away and didn’t want to get up again to run it back through…

simon-says-stamp-wishing-sentiment-die-cut-big-shot-machine-scissors-touch-up

…So I decided to just try and fussy cut the rest out to touch it up a bit. I think it has a nice, ‘hand-made’ look to it. Haha!

plain-cardstock-cute-cat-stamp-paper-smooches-faber-castell-gelatos-orange-card-idea

I have always loved this happy anime-style cat from the Paper Smooches Nine Lives stamp set. I stamped him out onto white card stock then I decided to colour him in using some orange Faber-Castell Gelatos.

plain-cardstock-cute-cat-stamp-paper-smooches-faber-castell-gelatos-dark-orange-card-idea

I drew some gelatos around the edges in the lighter orange and rubbed it in using my finger and then added some value by repeating the process with the dark orange. I was really excited by how the cat was looking.

Plain-Cardstock-Cute-Cat-Stamp-Paper-Smooches-Faber-Castell-Connector-Pen-Dark-Orange-Card-Idea

Next I used a darker orange Faber Castell Connector-Pen to make some darker values and to give the ginger cat some little tiger stripes. So cute!

Plain-Cardstock-Cute-Cat-Stamp-Paper-Smooches-Faber-Castell-Connector-Pen-Dark-Orange-Card-Idea

After that I fussy cut him out and went around the edges using the Memento Tuxedo Black ink pen. I cut out a ribbon from some plain white cardstock and then coloured it using the same two Faber Castell Gelatos that I had used to colour in the cat.

Simon-Says-Stamp-Wishing-Die-Cut-Happy-Birthday-Stamp-Set-Faber-Castell-Gelatos-Orange

I cut the pattern papers in two halves and aligned them on the card disjointed. I arranged the cat on the bottom to cover the bottom joint. I really liked this effect. I arranged the ‘wishing’ die cut on top of the ribbon and adhered it using a glue pen. Then I stamped ‘you happy birthday’ from the same stamp set underneath using Versafine black ink – it’s very crisp!

Simon-Says-Stamp-Wishing-Die-Cut-Happy-Birthday-Stamp-Set-Faber-Castell-Gelatos-Orange

Because the pattern paper was a little bit dull in comparison to the orange of the gelatos on the cat and the ribbon, I decided to rub some gelatos down the thicker stripes of the right-hand side pattern paper and added a scratched line in the dark orange of the Faber Castell Connector Pen. I think this really finished the card off nicely and brought everything together.

I really love how this card turned out and I can’t wait to try this gelatos colouring idea again in the future. I would also like to make more cards using the Simon Says Stamp Better Together set.